Hole Punch Makeover: Customize Stock Packaging with Ribbon and Ties
How to Customize Stock Packaging with a Hole Punch
Our GreenKraft clamshells are the perfect canvas for your creativity. With some simple modifications, you can transform our standard clamshell into something unique and customized.
- Select the Right Packaging: Choose the size and shape that suits your needs.
- Gather Materials: To modify the packaging, you’ll need a few basic supplies such as a hole puncher, ribbon or twine, scissors, and any additional embellishments you desire, like tags.
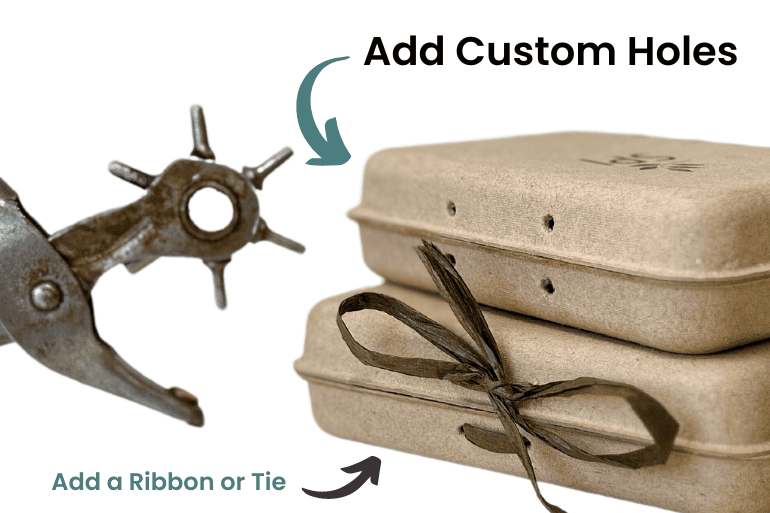
- Plan the Placement of Holes: Decide where you would like to incorporate the ribbon or ties into the packaging. This can be along the edges to create a charming tie closure or at the top to form a convenient hanging tab. Lightly mark the desired spots with a pencil to provide guidance when punching the holes.
- Punch the Holes: Using a hole puncher, carefully create holes in the designated spots. It’s important to ensure that the holes are aligned symmetrically and are of the appropriate size to accommodate the ribbon or twine you’ll be using. For best results, we recommend using a leather hole puncher, as it offers a range of hole sizes. As you apply pressure and punch the holes, it can be helpful to slightly twist the punch to facilitate clean cuts through the material
- Add Ribbon and Ties: Cut the ribbon or twine into suitable lengths, allowing for enough excess to tie bows or knots. Insert one end of the ribbon through a hole from the outside of the packaging and pull it through until it reaches the desired length. Repeat this process for all the holes you punched. You can experiment with different ribbon colors, textures, or patterns to match your branding or the occasion.
- Customize with Embellishments: To further customize the stock packaging, consider attaching charms, tags, or small ornaments to the ribbons or ties. These additional touches can reflect your brand logo, a message, or simply add a decorative element that enhances the overall look.
- Secure and Finish: Once you’ve added the ribbon and ties, make sure to securely tie knots or bows to keep the packaging closed and intact. Adjust the ribbons to ensure they are even and neatly aligned.
- Evaluate and Adjust: Step back and assess the final result. Make any necessary adjustments to ensure the ribbons and ties are symmetrical, and the overall appearance is visually appealing.
By punching holes in the stock packaging and adding ribbon and ties, you have transformed a standard package into a customized creation that reflects your personal style or brand identity. Whether it’s for a special gift, product packaging, or promotional purposes, these modifications allow you to make a lasting impression with a touch of creativity and attention to detail.
How to Use a Leather Hole Punch Tool
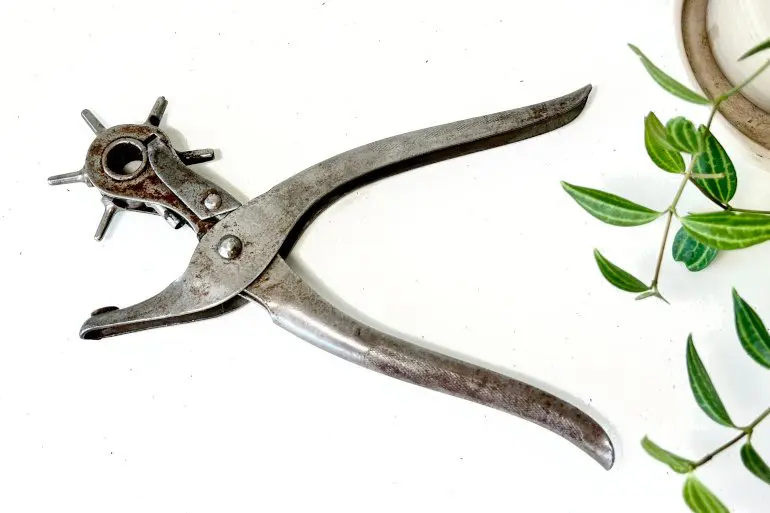
Leather Punch Tool
Try using a revolving leather punch. A revolving leather punch, also known as a rotary leather punch or revolving punch pliers, is a versatile hand tool specifically designed for making holes in leather and other materials. It typically consists of a pair of pliers with a rotating wheel or disc at the end. The wheel or disc has multiple punch heads of different sizes, which can be selected by rotating the tool to align the desired punch size with the pliers’ jaws.
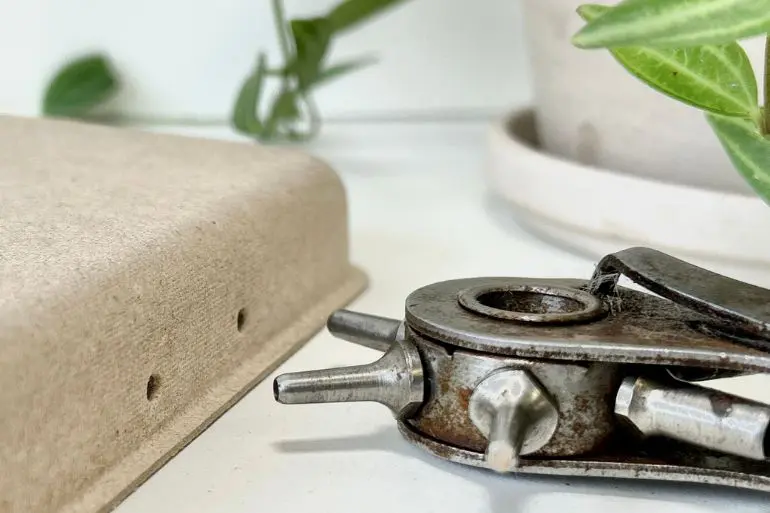
Punch a Hole Size to Match Your Ribbon
To use a revolving leather punch, you position the tool on the material where you want to create a hole and squeeze the handles together. The punch head rotates and cuts through the material, leaving a clean and precise hole. The ability to choose from various punch sizes makes it suitable for creating holes of different diameters so you can customize stock packaging to your needs and create a hole diameter to match your ribbon or tie.
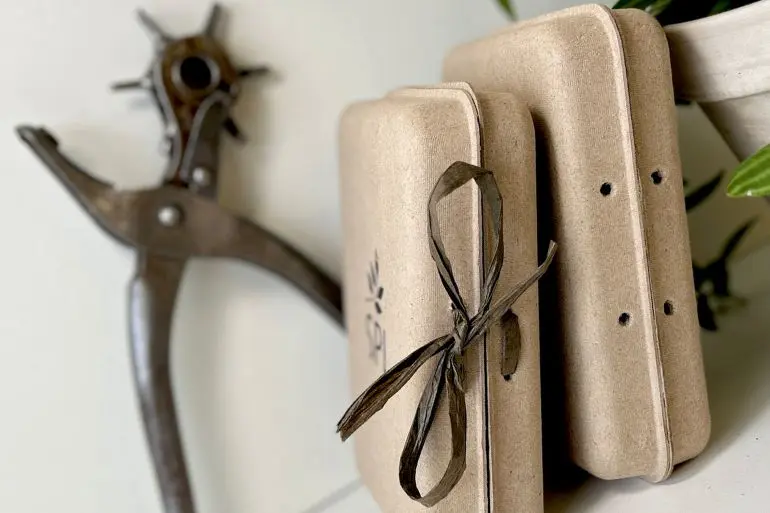
Purchase Leather Hole Punch
Widely available at local stores, Amazon and online. Try www.buckleguy.com
These tools are classics and you can also find used and vintage versions on Ebay

